Forms are an excellent way to collect information and interact with visitors about the services or products available on your website. WordPress supports dynamic forms through plugins that make building and managing them simple. On ruachost.com, the recommended tool is the Ninja Forms plugin.
Why Use Dynamic Forms?
-
Collect leads, feedback, or customer inquiries.
-
Allow visitors to register, book appointments, or request quotes.
-
Customize fields to match your business needs.
-
Easily embed forms into posts, pages, or widgets.
Steps to Create a Dynamic Form Using Ninja Forms
-
Log in to WordPress as the administrator.
-
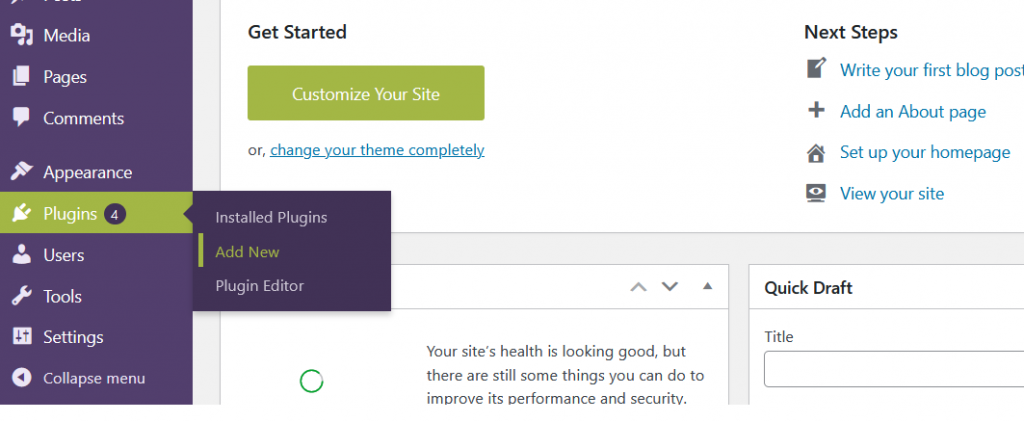
In the dashboard, go to Plugins → Add New.
-
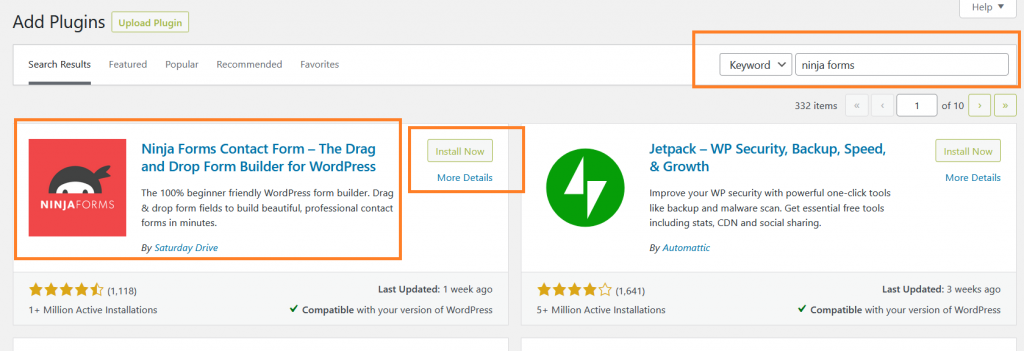
Search for Ninja Forms → Click Install Now → Activate.
-
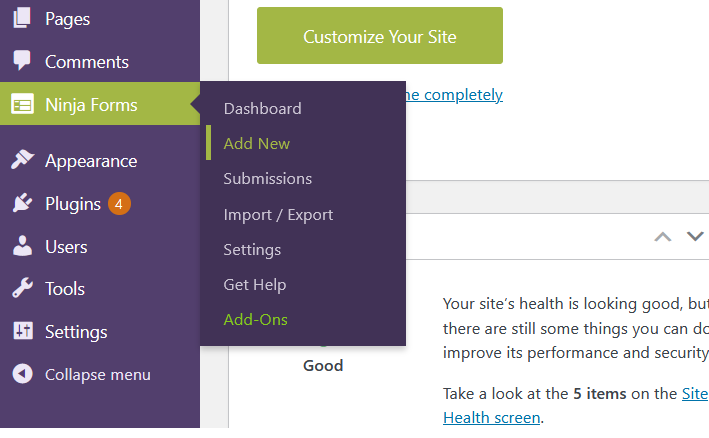
In the dashboard, go to Ninja Forms → Add New.
-
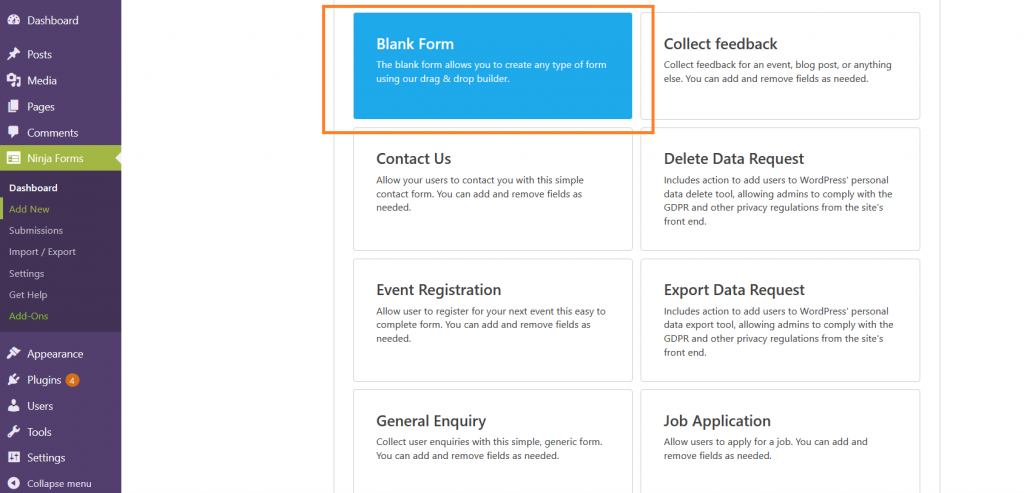
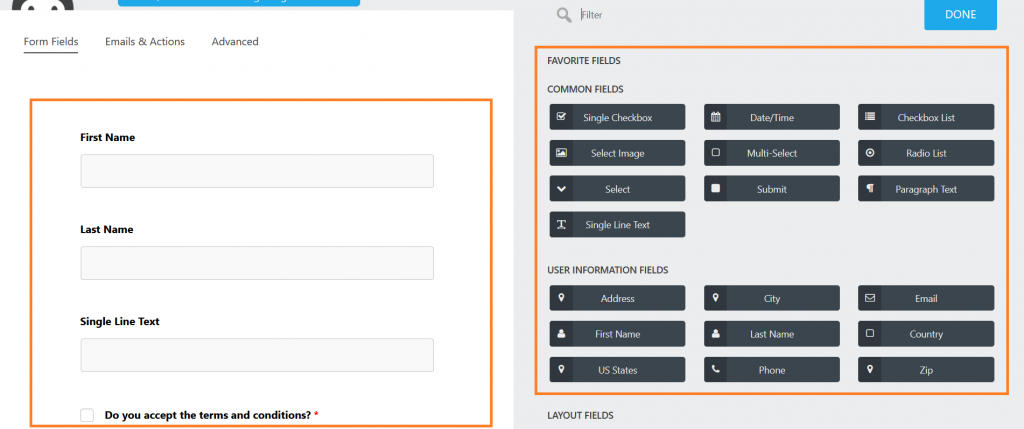
Choose from pre‑configured templates or select Blank Form to start fresh.
-
Drag and drop fields (text, email, dropdowns, checkboxes, etc.) into your form.
-
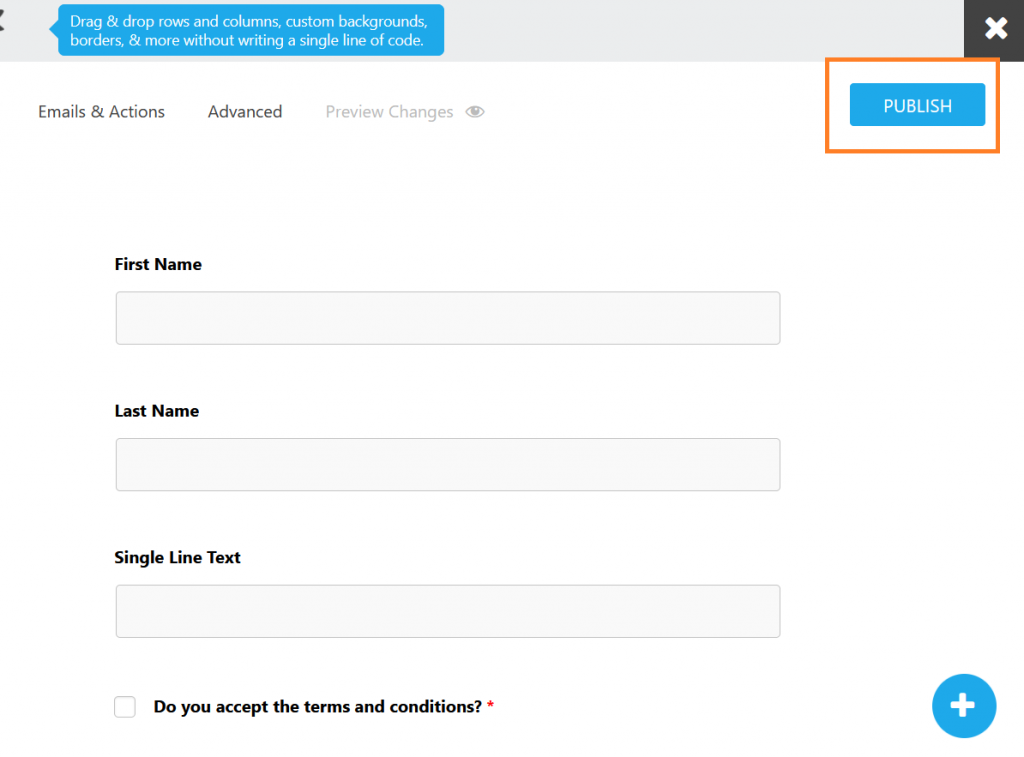
Click Publish, enter a form title, and confirm.
-
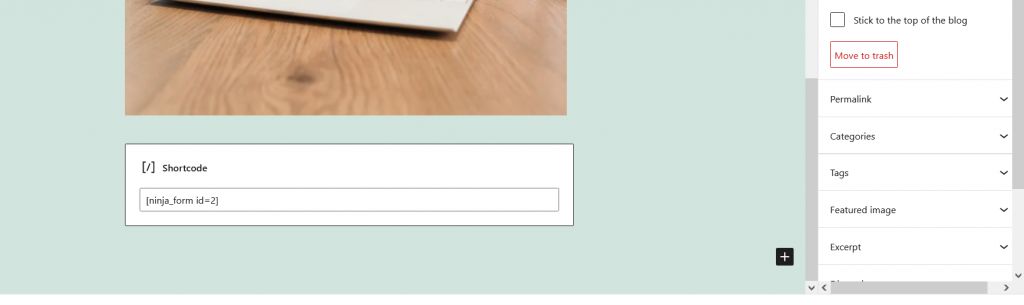
Copy the shortcode provided for the form.
-
Paste the shortcode into any post, page, or widget.
-
Click Publish → Your form is now live.
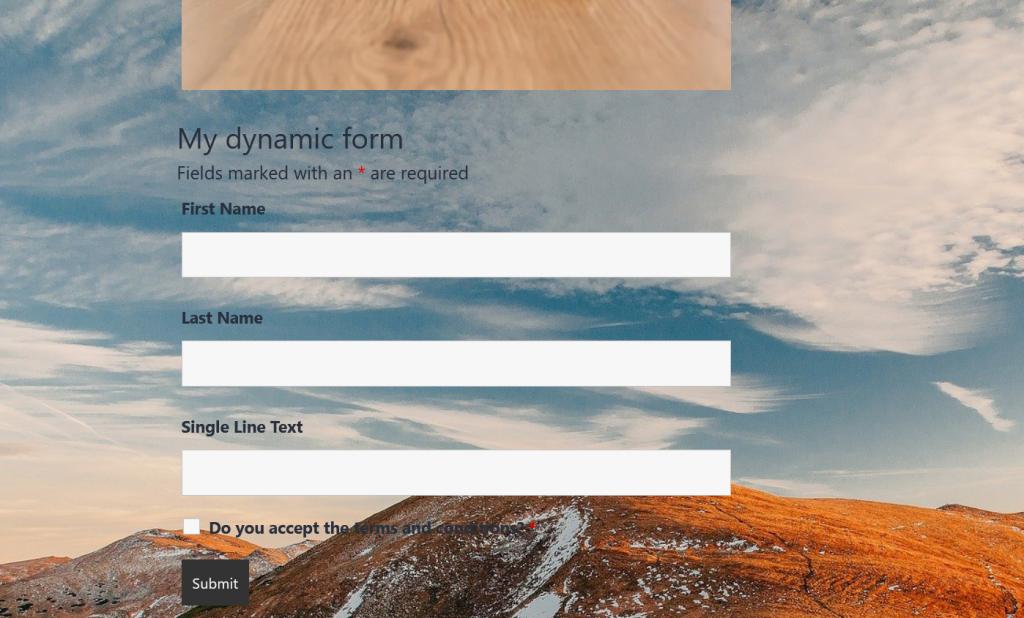
✅ Visitors can now interact with your dynamic form, and submissions will appear in your WordPress dashboard.
Important Notes
-
Always test your form to ensure fields and submissions work correctly.
-
Use conditional logic for advanced forms (e.g., show/hide fields based on user input).
-
Secure forms with CAPTCHA to prevent spam.
-
Back up your site before installing new plugins.


