
Nibbleblog Basics
You’ve decided to start blogging, and you want to use Nibbleblog. This guide provides all the information you need to get your site up and running smoothly on your ruachost.com account.
Step 1: Install Nibbleblog
The first step is to install Nibbleblog on your hosting account. If you haven’t ordered a hosting plan yet, the setup process is simple. When ordering your hosting package from ruachost.com, select Nibbleblog from the list of one-click installation options. Once your account is active, Nibbleblog will be automatically installed and ready to use.
If you already have a hosting account with ruachost.com, there are two installation options available:
Softaculous installation:
Softaculous is an automated app installer included with managed hosting accounts from ruachost.com. It allows you to install applications like Nibbleblog in just a few clicks.
Manual installation:
You can also install Nibbleblog manually. This option involves uploading files and configuring settings yourself.
Once Nibbleblog is installed, you can begin customizing your blog to match your personal style.
Step 2: Customize Nibbleblog
Before creating content, you should personalize your blog’s design and features. Nibbleblog supports both themes and plugins, making it easy to adjust your site’s look and functionality.
Themes
Themes control your site’s visual style, including layout, colors, and fonts. To view or change your theme:
-
Log in to Nibbleblog as the administrator.
-
In the left panel, click Themes.
-
To switch themes, click Install next to the one you want to use.
Plugins
Plugins extend your blog’s features — for example, adding contact forms or widgets. To manage plugins:
-
Log in to Nibbleblog as the administrator.
-
In the left panel, click Plugins.
-
Click Install next to any plugin you want to activate.
Step 3: Create Content
After installation and customization, you’re ready to start creating and sharing your content.
Posts vs. Pages
-
Posts appear on your homepage in chronological order (newest first).
-
Pages contain static content such as “About” or “Contact.”
To create a post or page:
-
Log in to Nibbleblog as the administrator.
-
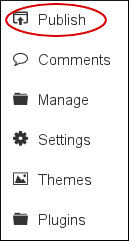
In the left panel, click Publish.
Note:
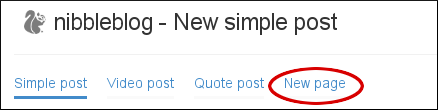
Nibbleblog defaults to creating a new post. If you want to create a static page instead, click New page:
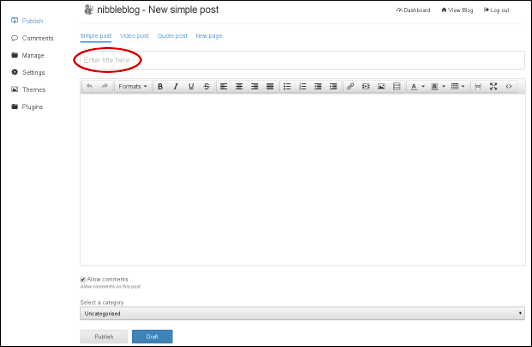
3. Type a title and add your content in the text box.
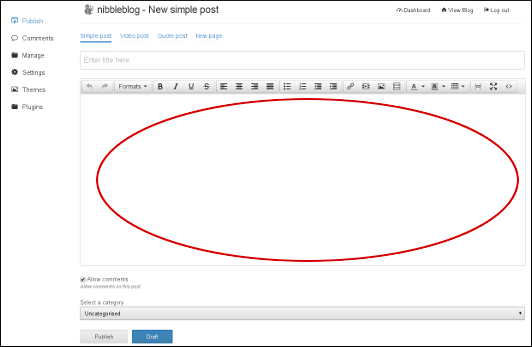
4. In the large text box, type the content for the post or page:
Tip
- Use the toolbar icons to format your text.
- To enable comments, check Allow comments.
5. To save your work and return to it later, click Draft. When you're ready to share your post with the world, click Publish. Once published, your post will immediately appear at the top of your website’s home page.
Tip
-
The Draft feature is perfect for capturing ideas when you're not ready yet to publish content for the world to see.
-
To delete a post, in the left pane click Manage. Locate the post you want to delete, and then click Delete.
Step 4: Manage Comments
Nibbleblog gives you full control over reader interactions. To moderate comments:
-
Log in to Nibbleblog as the administrator.
-
In the left panel, click Comments.
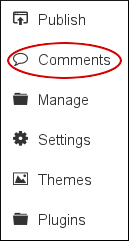
3. You’ll see a list of all comments.

- Click Approve to publish a comment, Disapprove to hide it, or Delete to remove it completely.
With these steps, your Nibbleblog site on ruachost.com will be live, personalized, and ready for your audience.


